
DIY Painting Tips: How to Achieve a Professional Look at Home


Preparing the Space
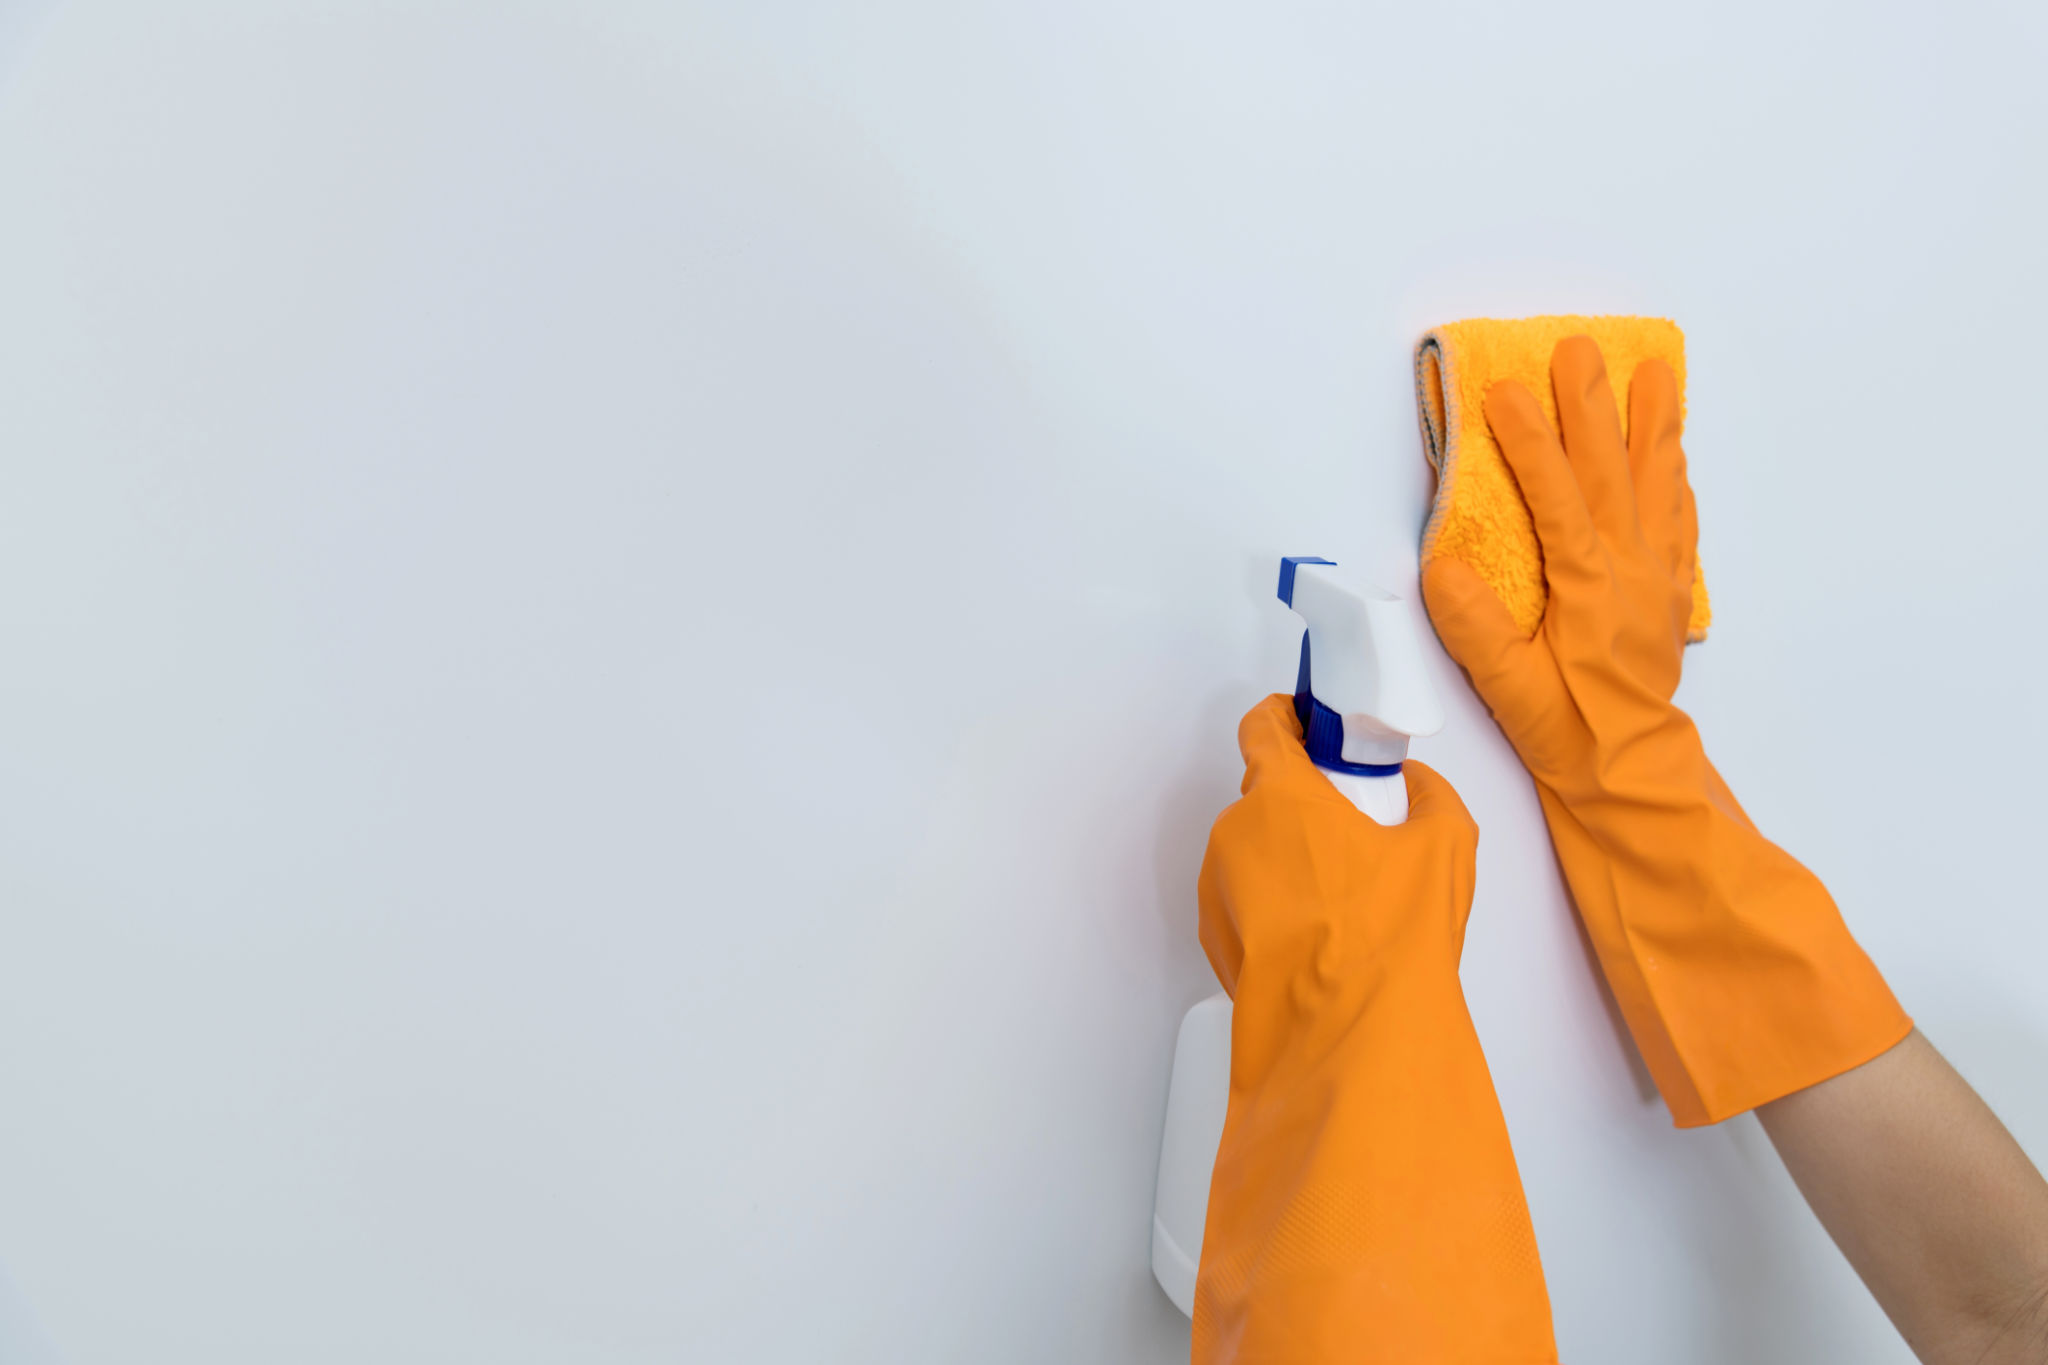
Before you even pick up a brush, proper preparation is key to achieving a professional look in your DIY painting projects. Start by clearing the room of any furniture and decorations. If moving large items is not feasible, be sure to cover them with drop cloths or old sheets. This will protect them from accidental splatters and ensure you have ample space to work.
Next, clean the walls thoroughly to remove dust and grime, which can prevent paint from adhering properly. Use a mild detergent and water solution, and allow the walls to dry completely before proceeding. Don't skip this step as it lays the foundation for a smooth and even finish.
Choosing the Right Tools
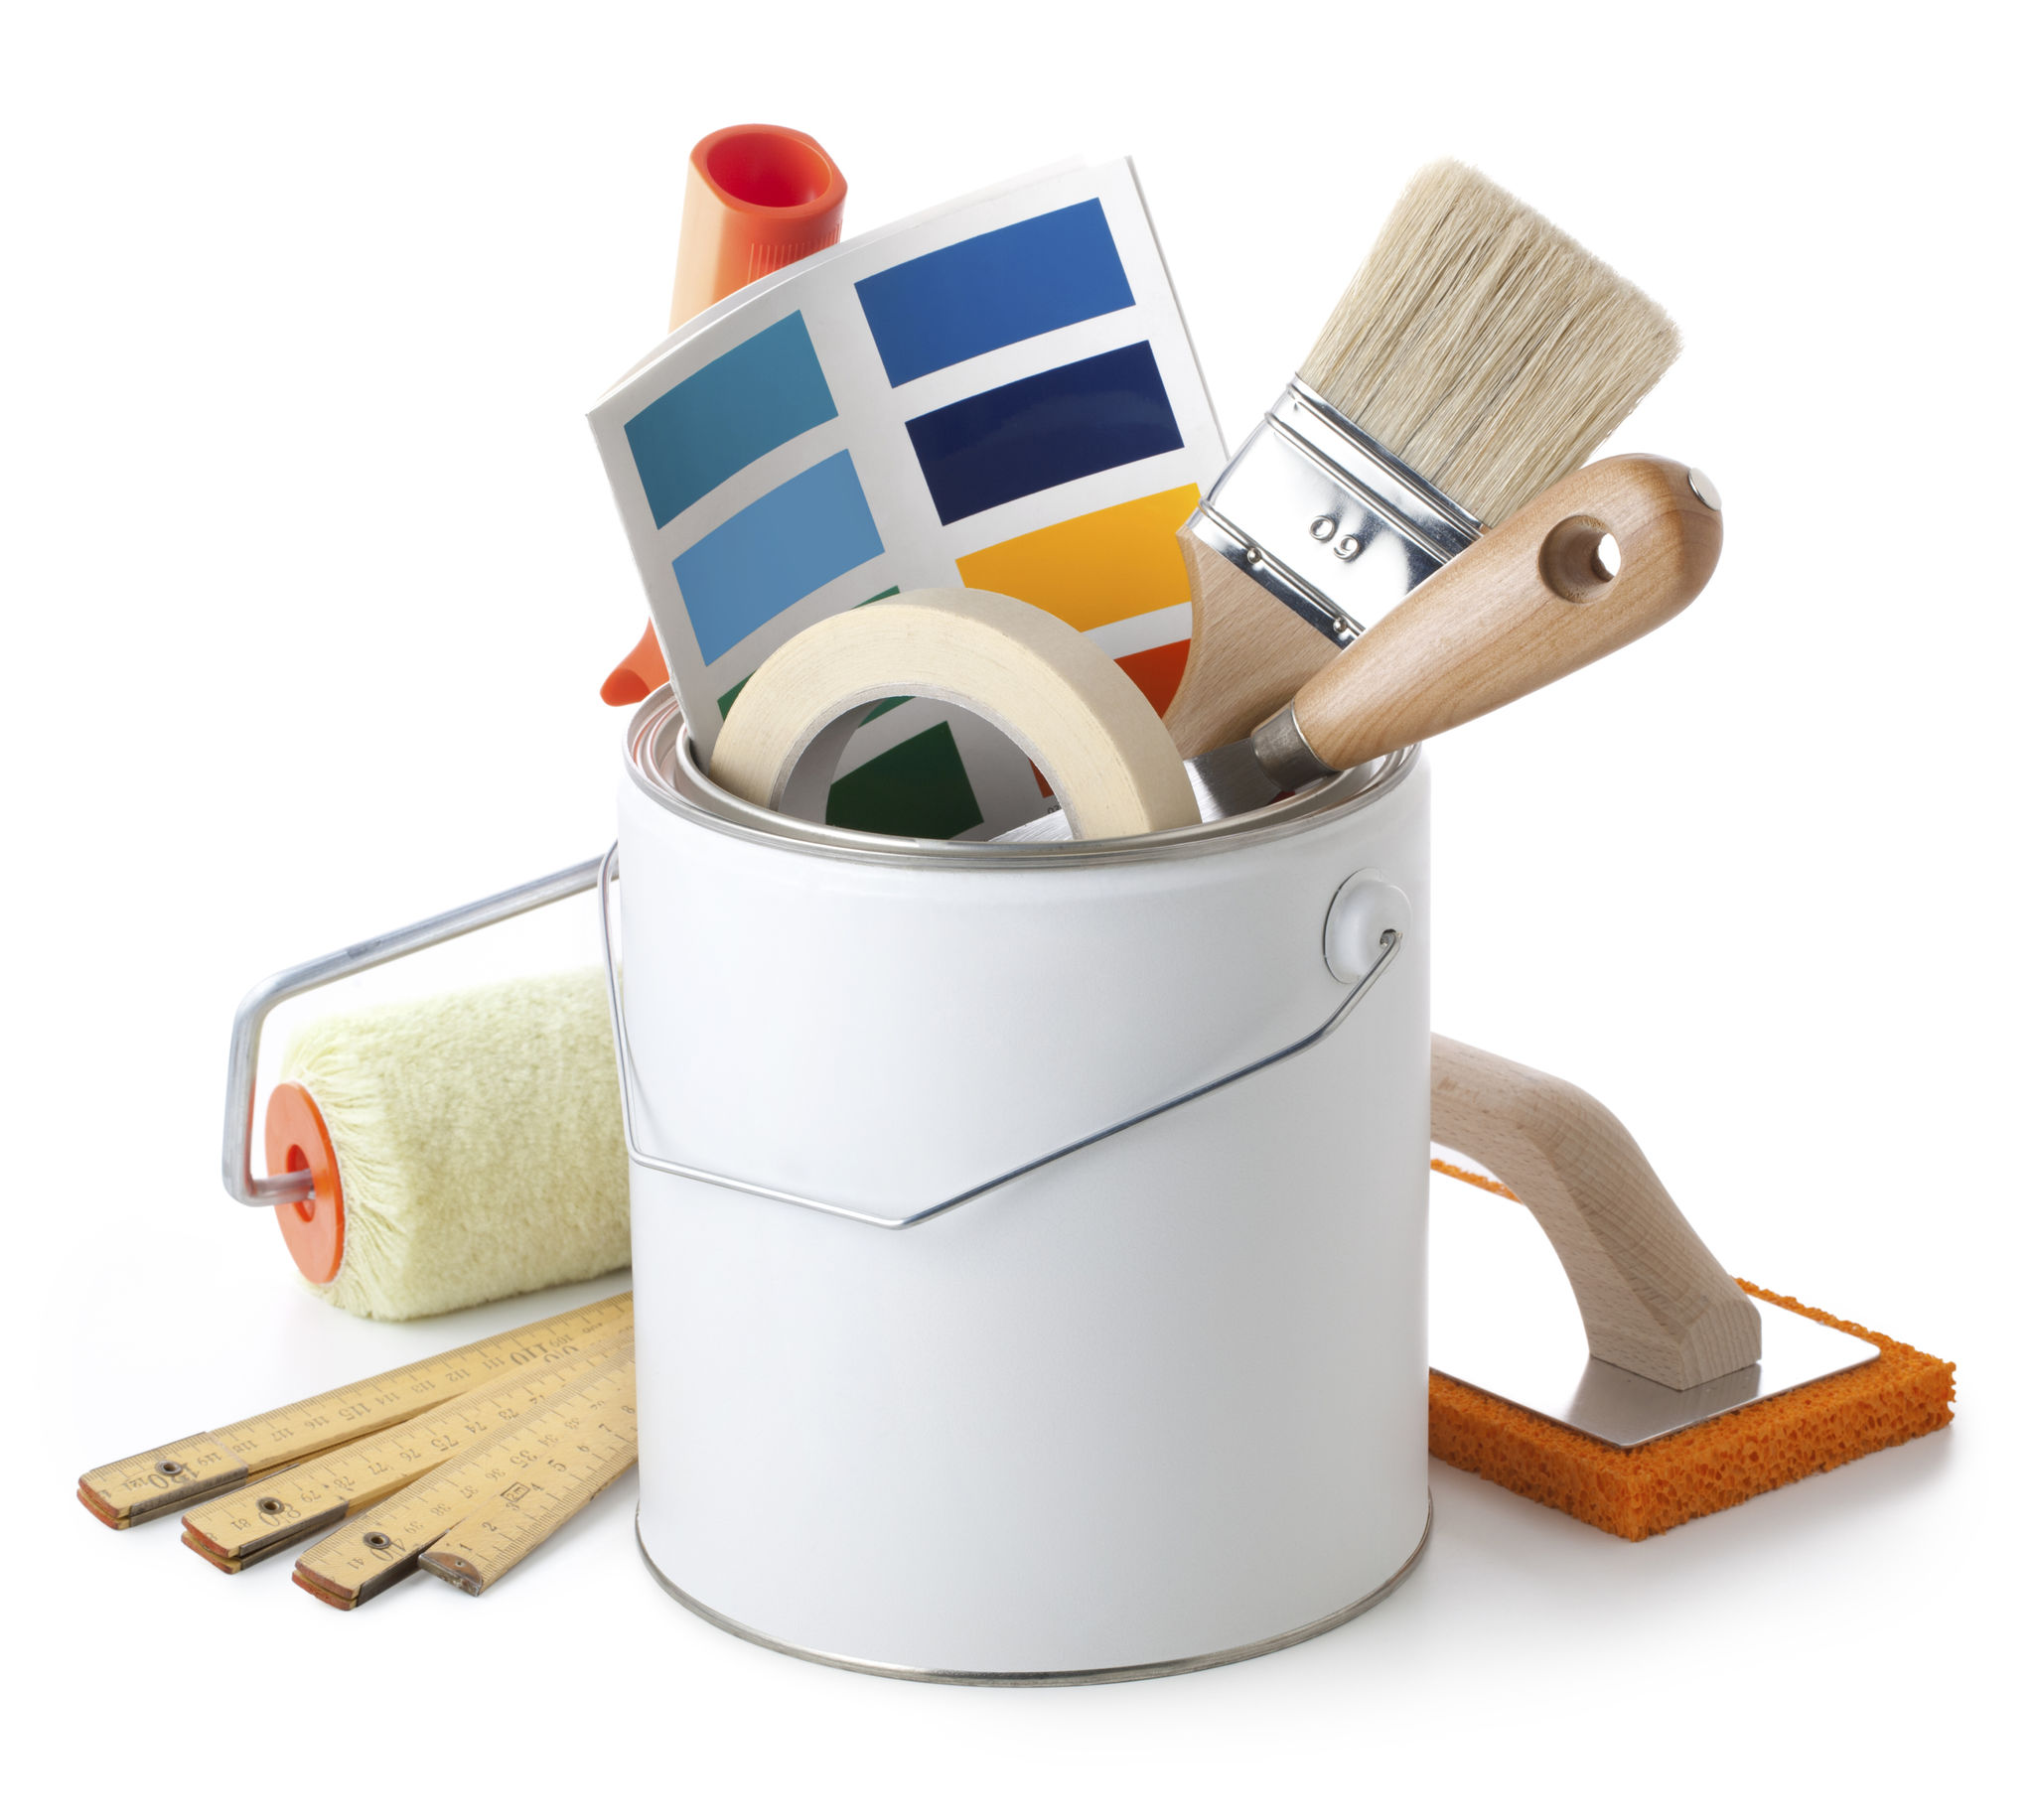
Investing in quality tools can make a significant difference in the outcome of your painting project. While it might be tempting to save money by opting for cheaper brushes and rollers, higher-quality options will provide a smoother application and better coverage.
Consider the type of paint you are using when selecting your tools. For example, natural-bristle brushes are ideal for oil-based paints, while synthetic brushes work best with latex paints. Similarly, choose roller covers with the appropriate nap length based on the texture of your walls.
Selecting the Perfect Paint
The type of paint you choose will greatly impact the final look of your project. When selecting paint, consider factors such as color, finish, and durability. It's often best to test a few samples on your walls before making a final decision, as lighting can significantly affect how colors appear.
For high-traffic areas like hallways and kitchens, opt for a durable, washable finish like satin or semi-gloss. These finishes are easier to clean and maintain. On the other hand, for bedrooms or living rooms, a matte or eggshell finish can provide a more sophisticated look.
Mastering the Technique
To achieve a professional finish, mastering the painting technique is essential. Begin by cutting in with a brush around edges and corners before using a roller. This step helps create clean lines and prevents unsightly overlaps. After cutting in, use a roller to cover large areas, working in small sections.
Apply paint using a "W" or "M" motion, which helps distribute the paint evenly and reduce streaks. Always maintain a wet edge by working quickly and efficiently, ensuring that each section blends seamlessly into the next.

Finishing Touches
Once you've applied the final coat of paint, it's time to focus on finishing touches. Carefully remove any painter's tape while the paint is still slightly damp to avoid peeling. Touch up any missed spots with a small brush for a flawless finish.
Finally, allow the paint to cure completely before moving furniture back into place or hanging wall art. This ensures that your hard work remains unmarred by smudges or fingerprints.

Safety and Cleanup
Throughout your DIY painting project, it's important to prioritize safety. Ensure proper ventilation by opening windows or using fans to disperse fumes. Wear protective gear such as gloves and masks when necessary, especially if using oil-based paints.
Once your project is complete, take the time to clean your tools thoroughly. Brushes and rollers can be washed with soap and water for latex paints or mineral spirits for oil-based paints. Properly cleaning and storing your tools extends their lifespan and makes future projects easier.