
How to Prepare Your Singapore Home for a Painting Makeover


Assessing Your Current Space
Before diving into a painting project, it's essential to evaluate the current state of your walls and ceilings. Inspect for cracks, holes, or peeling paint, as these imperfections need addressing before a fresh coat can be applied. A thorough assessment will help you determine the amount of preparation work required and ensure a smooth, professional finish.
If you're planning to change the color scheme, consider how the new colors will interact with existing furniture and decor. This step is crucial in ensuring a cohesive look throughout your home.

Gathering Your Supplies
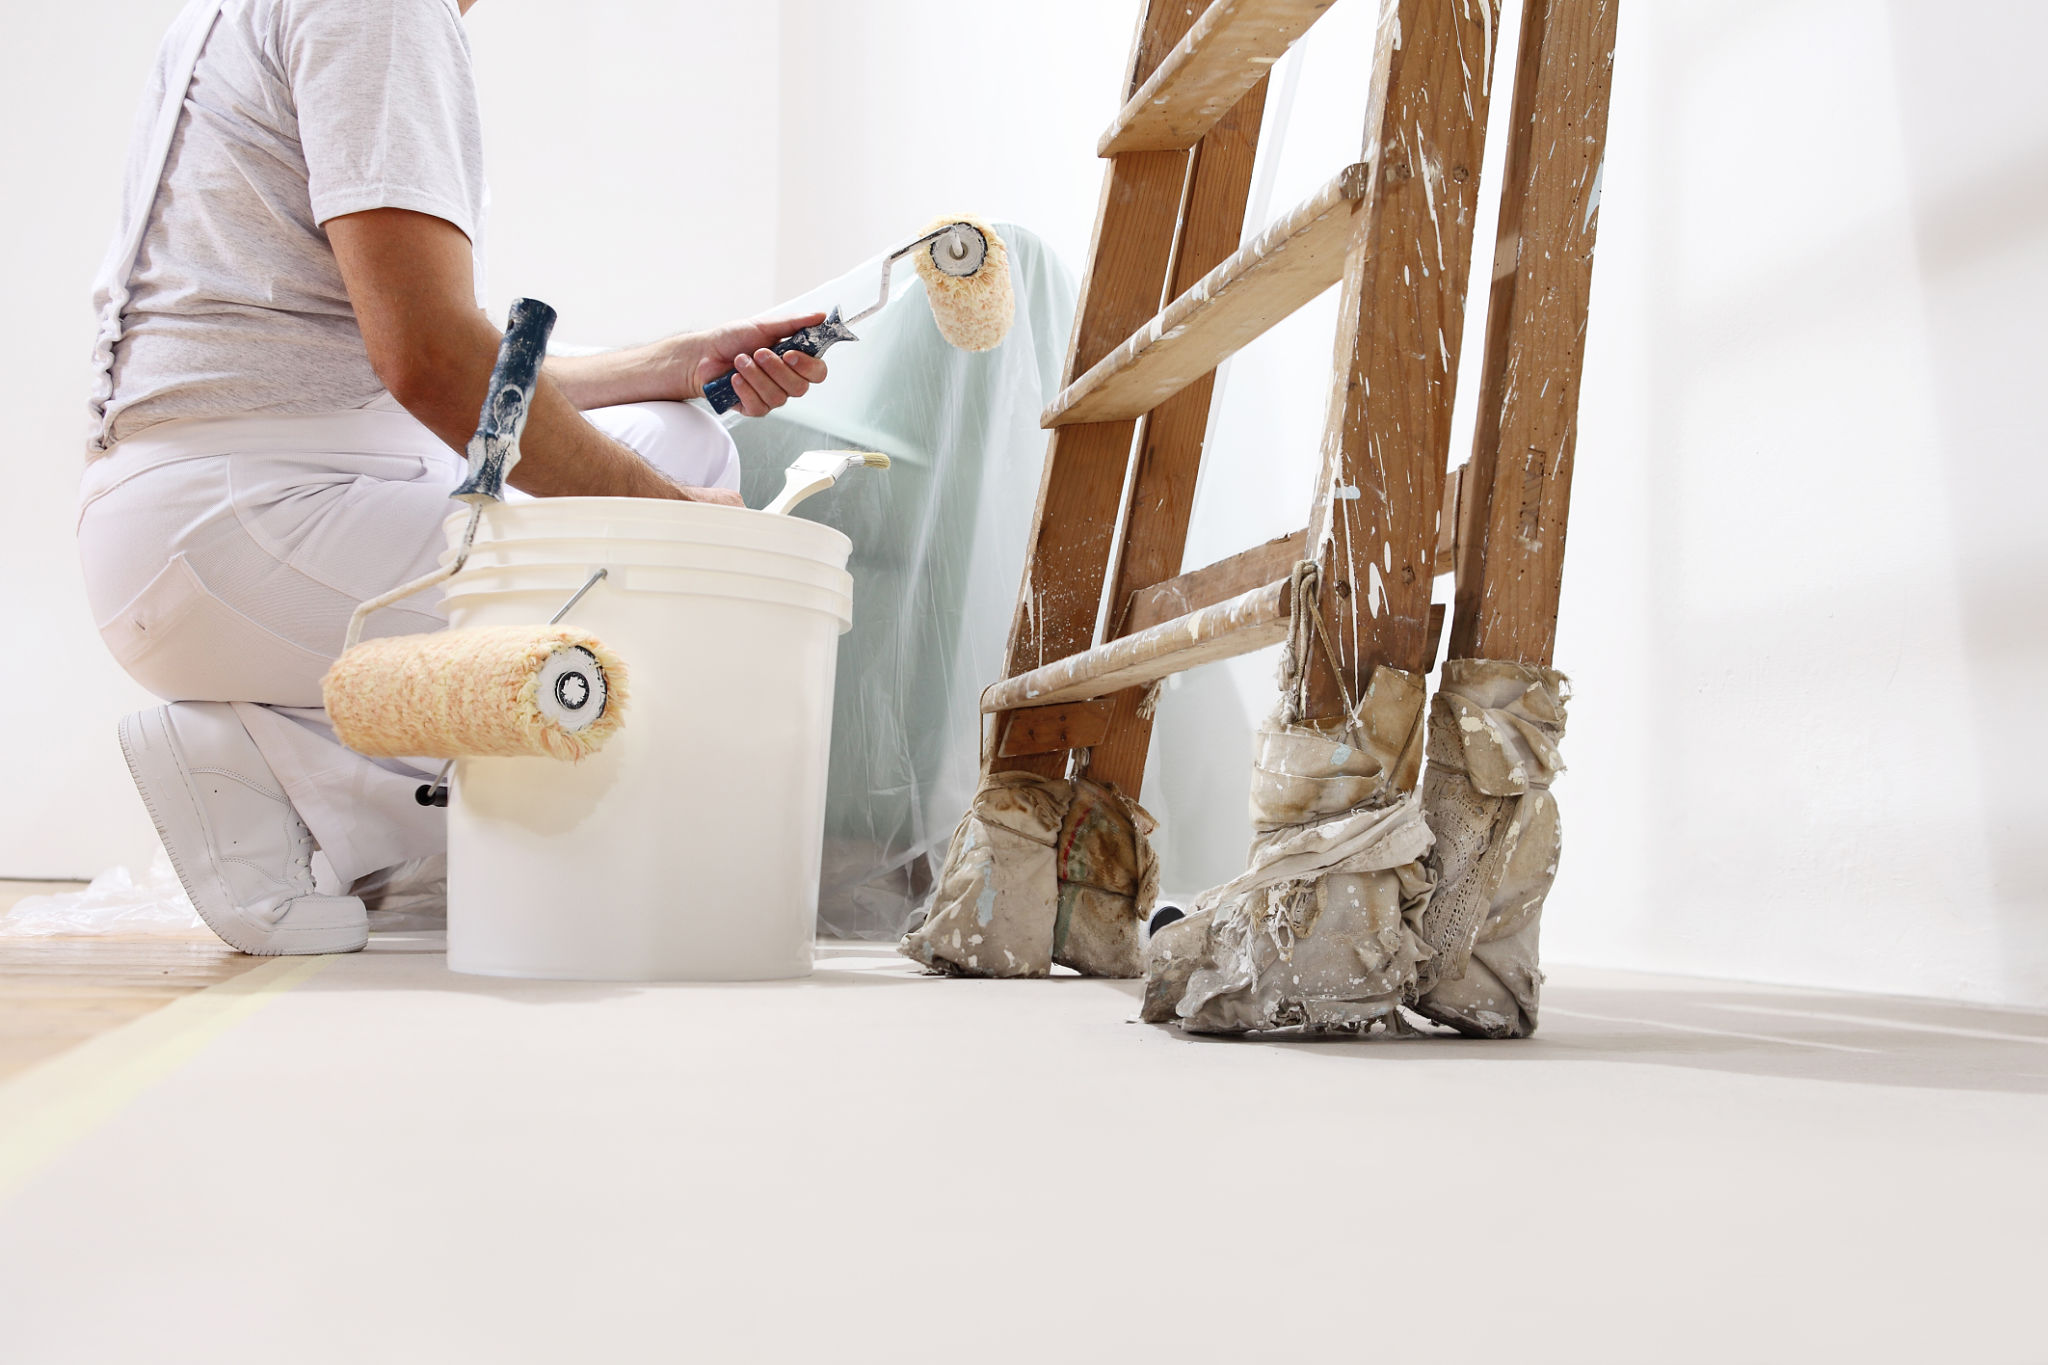
Having the right supplies on hand will make your painting project more efficient and enjoyable. Some essential items to consider include:
- High-quality paint
- Paint rollers and brushes
- Painters tape
- Drop cloths or plastic sheeting
- Sandpaper or a sanding block
- Spackling paste for patching
Investing in quality tools can make a significant difference in the outcome of your project. Additionally, having everything prepared in advance will minimize interruptions during the painting process.
Preparing Your Walls
Once you have your materials ready, it's time to prepare your walls. Start by clearing the room of furniture or covering it with drop cloths to protect against paint splatters. Use painters tape to mask off areas you want to keep paint-free, such as trim and windows.

Next, sand any rough patches and fill in holes or cracks with spackling paste. Once dry, sand the patched areas until smooth. Proper surface preparation is vital for ensuring that your new paint adheres well and lasts longer.
Choosing the Right Paint
Selecting the ideal paint for your home involves more than just picking a color. Consider the type of paint finish that best suits each room's function. For instance, matte finishes are great for hiding imperfections in low-traffic areas, while semi-gloss or gloss finishes are more durable and easier to clean, making them perfect for kitchens and bathrooms.
Additionally, think about the mood you want to create in each space. Warm tones can make a room feel cozy and inviting, while cooler shades can evoke calmness and serenity.

Executing the Painting Process
With all preparations complete, it's time to start painting. Begin by cutting in around edges and corners with a brush before using a roller for larger areas. Applying paint in long, even strokes will help achieve a uniform finish. Remember to take breaks between coats to allow for drying time.
For best results, apply at least two coats of paint. This will ensure full coverage and vibrant color. Patience during this process will pay off with a polished and professional-looking result.
Cleaning Up
After completing your painting project, it's essential to clean up properly. Remove painters tape carefully to avoid peeling off any fresh paint. Wash brushes and rollers thoroughly so they can be reused for future projects.
Once everything is cleaned and dried, return furniture to its original position and enjoy your newly transformed space. This final step is both satisfying and rewarding as you see your vision come to life.
Final Touches
The finishing touches are what truly bring your painting makeover together. Consider adding new art pieces or rearranging furniture to complement your fresh wall colors. Small accents like pillows, throws, or rugs can enhance the overall aesthetic and tie the room together.
Your hard work will not only refresh your home’s appearance but also increase its value. A painting makeover is a fantastic way to breathe new life into your living space while expressing your personal style.